Add to Pinterest
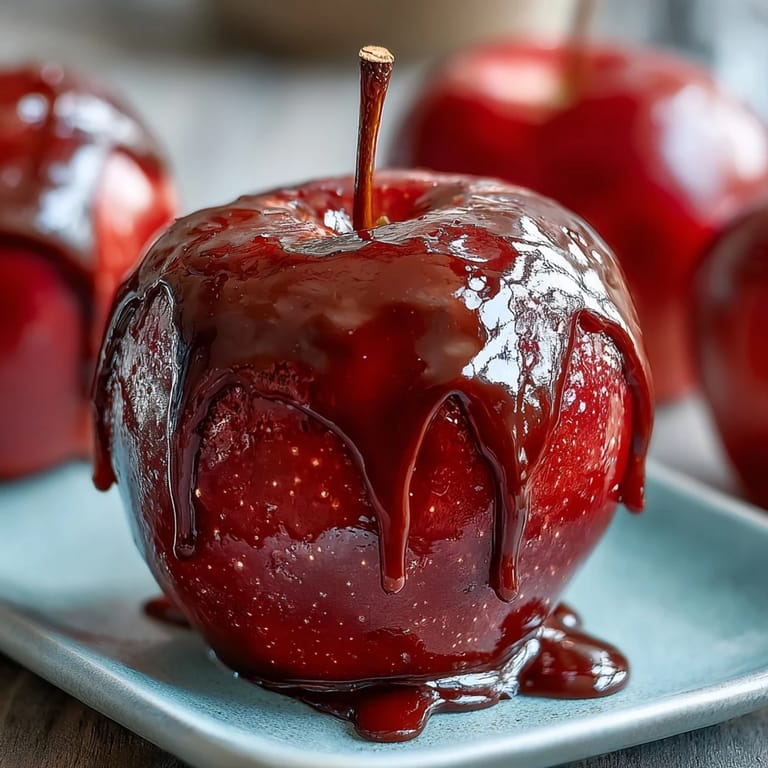
 My neighbor showed up at my door one October afternoon with a bag of candy apples from the farmers market, and I was immediately transported back to childhood carnivals—that sticky sweetness, the satisfying crack when you bit through the shell. She challenged me to make them at home, swearing they'd be better than anything store-bought, and she was right. Now every fall, the smell of caramelizing sugar fills my kitchen, and I find myself making batch after batch, perfecting the glossy red coating until it catches the light just so.
I made these for a Halloween party last year, and watching grown adults suddenly become kids again, laughing with their mouths full of apple and candy, reminded me why simple recipes matter most. Someone asked for the recipe that night, and then three more people did. Now they show up at every gathering I host during cooler months.
Ingredients
- Apples: Granny Smith or Gala work beautifully—pick small to medium ones that feel firm and unblemished, because they're your canvas and your structure all at once.
- Wooden sticks: Craft or popsicle sticks give you something to hold that won't slip through your fingers when things get hot.
- Granulated sugar: The foundation of everything; don't skip it or try to swap it out.
- Light corn syrup: This keeps the candy from crystallizing and gives you that glassy, professional finish.
- Water: Just enough to get everything dissolving before the heat takes over.
- Red gel or liquid food coloring: Gel coloring gives you deeper reds without diluting the mixture, which matters more than you'd think.
- Cream of tartar: A small secret that smooths out the final texture, though you can skip it if you don't have it on hand.
- White chocolate: Choose quality here because melted white chocolate is unforgiving—cheap brands can seize up on you.
- Coconut oil or vegetable oil: Just a teaspoon makes the drizzle flow like silk instead of clumping.
Tired of Takeout? 🥡
Get 10 meals you can make faster than delivery arrives. Seriously.
One email. No spam. Unsubscribe anytime.
Instructions
- Prep your apples like they're about to go on stage:
- Wash each one thoroughly and dry them completely—any moisture is the enemy of a good candy coat. Push a wooden stick firmly into the stem end of each apple, making sure it's secure enough that it won't wiggle when you're dunking.
- Build your candy mixture with intention:
- Pour sugar, corn syrup, water, and cream of tartar into a heavy-bottomed saucepan and stir gently until everything looks combined. You want the pan to feel substantial and stable when you set it on the heat.
- Let the heat do its quiet work:
- Clip your candy thermometer to the side of the pan and turn the heat to medium, then step back and let it bubble without stirring. Stirring at this stage invites crystals to form, and crystals ruin everything.
- Watch for the moment when color matters:
- Once the mixture hits 250°F, add your red food coloring and gently swirl the pan to distribute it. The color blooms like watercolor, and it's strangely satisfying to watch.
- Push toward the finish line:
- Keep the heat steady and watch that thermometer climb toward 300°F, which signals hard crack stage—the moment when your candy will shatter instead of bend. This takes patience; rushing ruins it.
- Dip with confidence and speed:
- The moment you hit 300°F, pull the pan from heat and work quickly and carefully. Tilt the pan slightly, dip each apple so the candy pools around the fruit, then twist gently and let excess drip off before setting it on your parchment sheet.
- Let time do its job:
- Give the candy coating a full ten minutes to set completely—don't rush this, even though it's tempting. The coating needs to firm up or the white chocolate drizzle will slide right off.
- Melt white chocolate like you mean it:
- Microwave the white chocolate and coconut oil in short twenty-second bursts, stirring between each one, until everything is glossy and smooth. Overheating white chocolate is how you end up with a grainy, broken mess.
- Finish with a flourish:
- Spoon or pipe the white chocolate over each apple in loose drizzles that catch the light. Let everything set for a final ten minutes, then serve while the apples are still at peak crispness.
 Add to Pinterest
 My daughter once asked why we couldn't just buy these instead of making them, and I realized I couldn't quite explain it—not because homemade is always better, but because standing together over a pan of caramel, watching her eyes widen when the apples came out glossy and perfect, felt like something worth protecting. Now she makes them with her friends.
The Science Behind the Shine
What makes candy apples so irresistible is the transformation that happens when sugar reaches hard crack stage—that specific temperature where the mixture stops being taffy and becomes something brittle and glass-like. The corn syrup in the mixture is what keeps it from crystallizing into a grainy mess, which is why that ingredient isn't optional no matter how tempting it might be to simplify.
Building Flavor with Restraint
The beauty of this recipe is its simplicity, but that doesn't mean it has to taste one-dimensional. The tart Granny Smith or sweet-tart Gala apple cuts against the pure sweetness of the candy shell, and the white chocolate adds richness and a hint of vanilla. Some people add a tiny pinch of vanilla extract or cinnamon to the coating, which deepens things without making it feel complicated.
Variations and Personal Touches
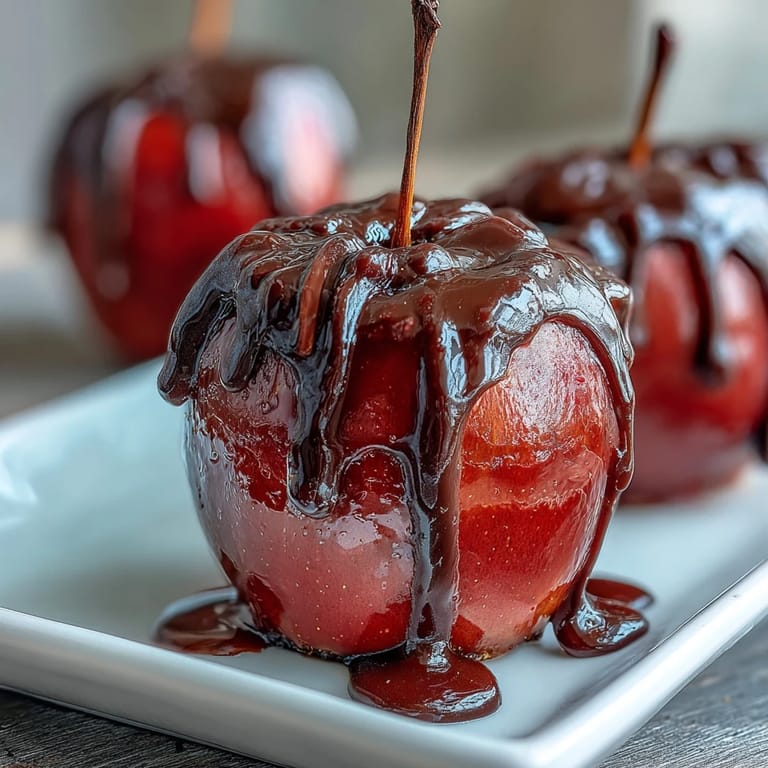
Once you master the basic red coating, the world opens up—dark chocolate drizzle instead of white, crushed pistachios rolled onto the wet candy, even a sprinkle of sea salt before everything sets. I've made versions with black cocoa powder mixed into the candy coating for a dark red that looks almost mysterious, and I've seen people do metallic dust over the white chocolate for weddings and fancy parties.
- Roll freshly dipped apples in chopped nuts, sprinkles, or crushed candy before the coating sets if you want texture and flavor.
- Try substituting vegan white chocolate if you're serving people who don't eat dairy, and the result is honestly just as good.
- Store finished apples in the fridge in an airtight container for up to three days, though they're best eaten within twenty-four hours while everything stays crisp.
 Add to Pinterest
 These apples remind me that some recipes endure because they connect us to something bigger than just food—they're tactile and a little bit theatrical, which makes them perfect for sharing. Whenever I make them, I feel like I'm part of a long line of people doing something simple and small that somehow matters.
Recipe Questions & Answers
- → What type of apples work best for candy coating?
Use small to medium Granny Smith or Gala apples for a firm texture and balanced tartness that complements the candy coating well.
- → How do I get a smooth and shiny candy coating?
Boil the sugar mixture to the hard crack stage (300°F) without stirring after adding food coloring. Dip apples quickly for even coverage and let the coating set undisturbed.
- → Can I add extra toppings to the candy apples?
Yes, try rolling the freshly coated apples in chopped nuts or sprinkles before the candy fully sets to add texture and flavor.
- → What is the best method to drizzle white chocolate?
Melt the white chocolate with a small amount of coconut or vegetable oil for smoothness, then drizzle over cooled candy apples using a spoon or piping bag.
- → How should these apples be stored after preparation?
Store in a cool, dry place at room temperature to maintain the crispness of the apples and the hardness of the candy shell.